Setup Visual Studio Connection To Mac
In order to build and debug iOS project in Visual Studio, we need to configure Visual Studio to connect to a Mac machine in network or Mac in cloud.
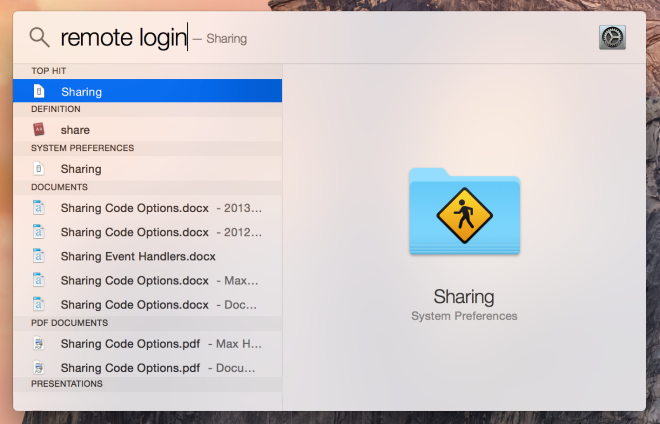
- We need to setup the Mac first to allow the connection. Open Spotlight (Cmd-Space) and search for Remote Login and then select the Sharing result. This will open the System Preferences at the Sharing panel.
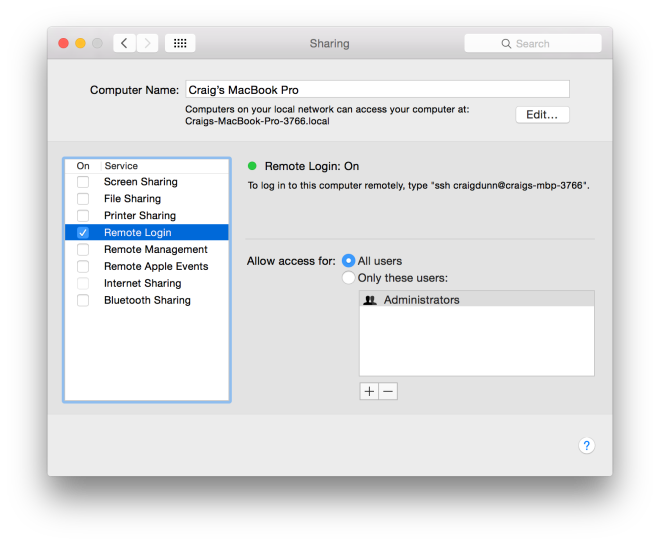
- Tick the Remote Login option in the Service list on the left in order to allow Xamarin for Visual Studio to connect to the Mac. Make sure that Remote Login is set to allow access for All users, or that your Mac username or group is included in the list of allowed users in the list on the right. The Mac should now be discoverable by Visual Studio if it’s on the same network.
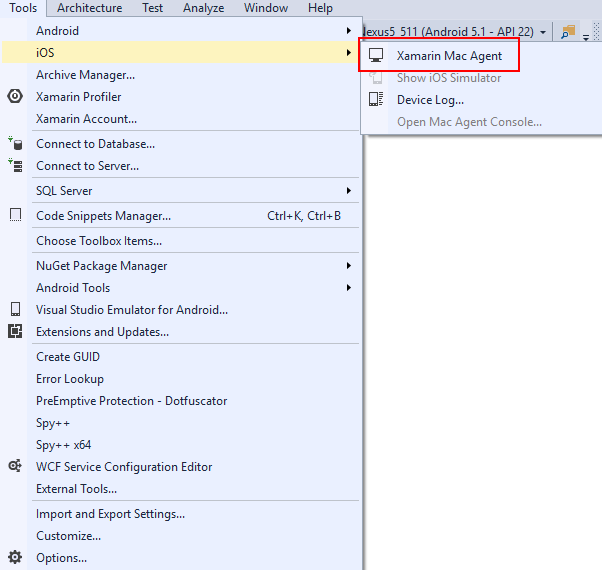
- Back to Windows and open Visual Studio. Go to Tools>iOS>Xamarin Mac Agent
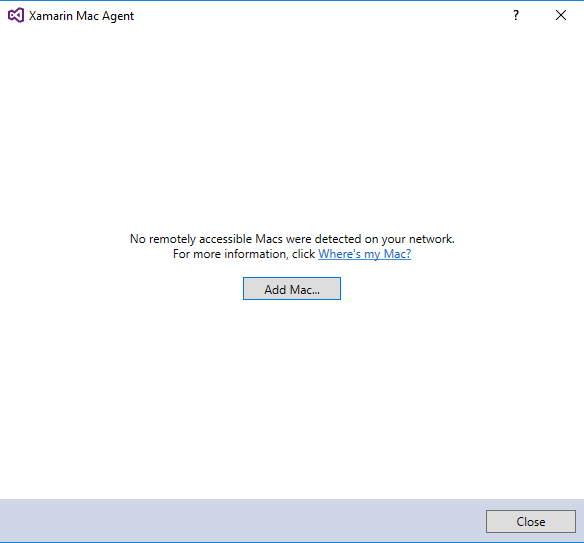
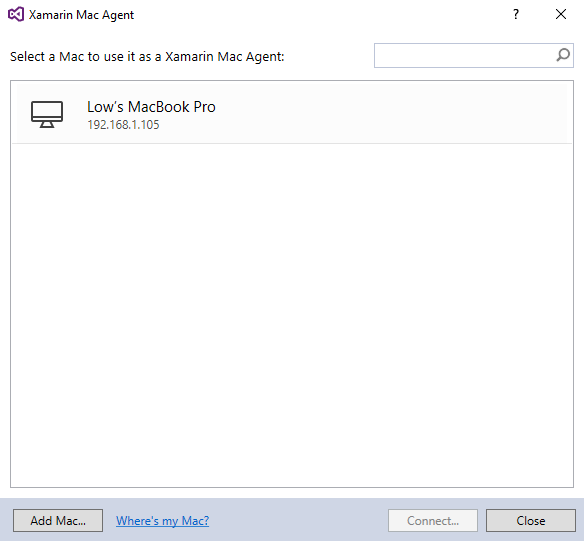
- If the Mac is not setup correctly, you will see the following dialog. You can try to add the Mac manually by clicking the Add Mac button and put in IP address of the Mac. If it is not able to connect, you will need to check the setup in Mac. You can also try ssh to the Mac to test the connection between Visual Studio and Mac.
- If there is a Mac setup correctly, you should able to see the Mac showing in the list. You can now select the Mac and click on Connect button.
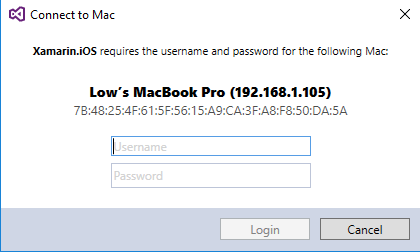
- If the connection is successful, you will see a dialog prompt ask for credentials. Please input the username and password that you have configure for Remote Login in the Mac.
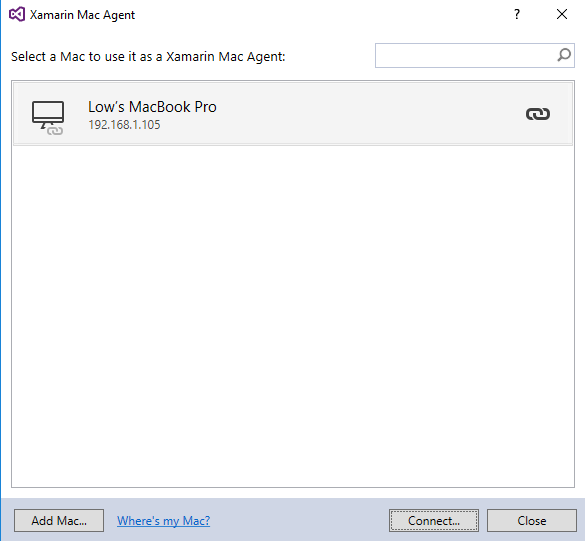
- If the credentials is correct, you should be now connected to the Mac.
- Close the dialog and you should be able to Build and Run iOS project now.
- Note: Please make sure that both Windows and Mac is having same version of Xamarin in order for the connection to work.
You can find the other parts of the guide here:
