Setup Xcode
Xcode is needed for iOS development. It included with SDK to build iOS codes and iOS Simulators.
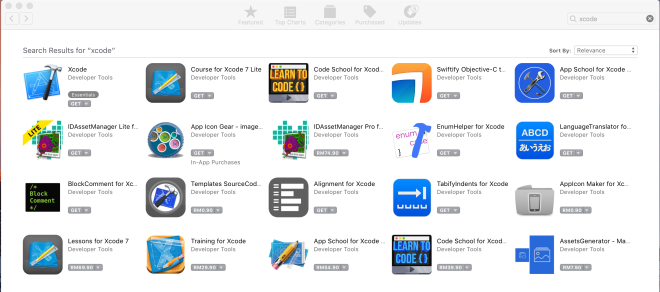
- Go to AppStore and search for Xcode. Click GET and INSTALL it. You will need to input your Apple ID and password in order to download app from AppStore.
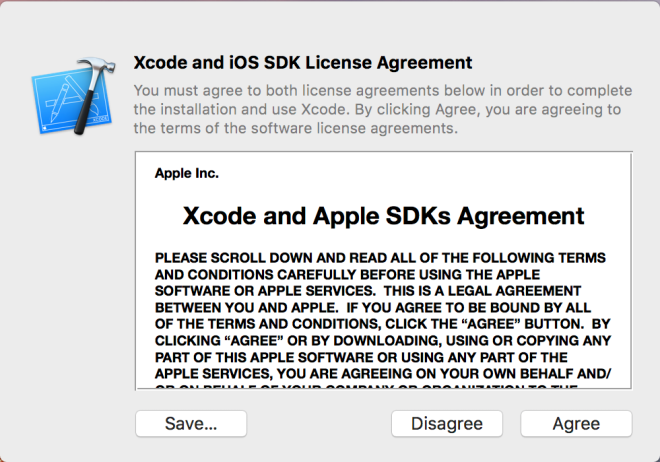
- You will need to Agree on the License Agreement before Xcode start to download and install.
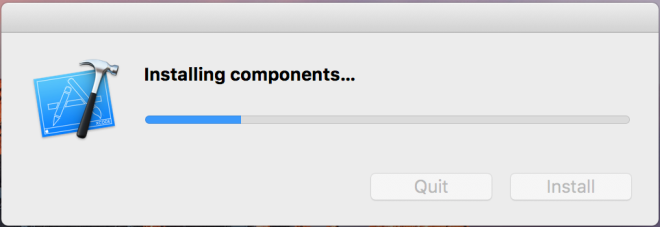
- Xcode will start to download (4GB++) now. The installation will start automatically after download completed. After that, click on Xcode button to start the app for once. During the first start, Xcode will initialize and install some components.
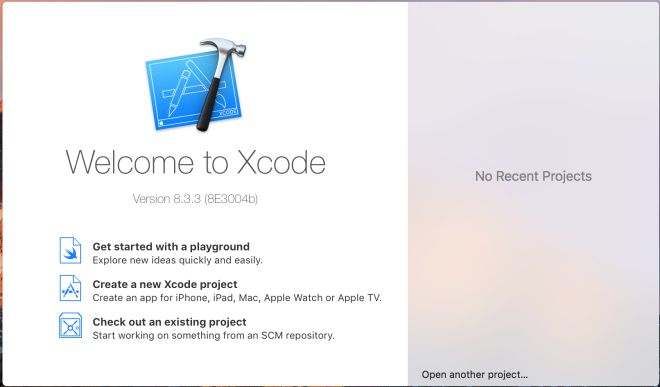
- After the initialization is completed, you should see the following screen. Xcode is successfully installed and you may close it now.
Setup Visual Studio for Mac
Xamarin development in Mac will be using Visual Studio for Mac.
- Download installer from visualstudio.com
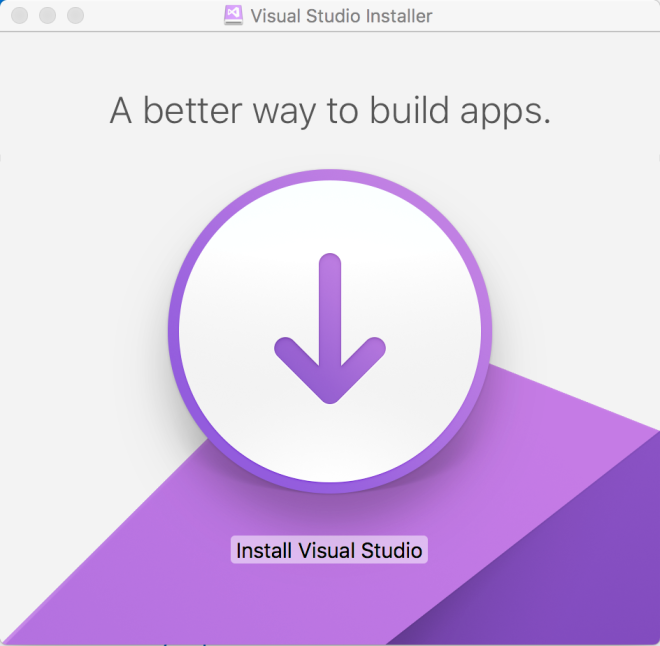
- Double click on downloaded installer and you will see the following dialog popup. Double click on the Install button to start installation.
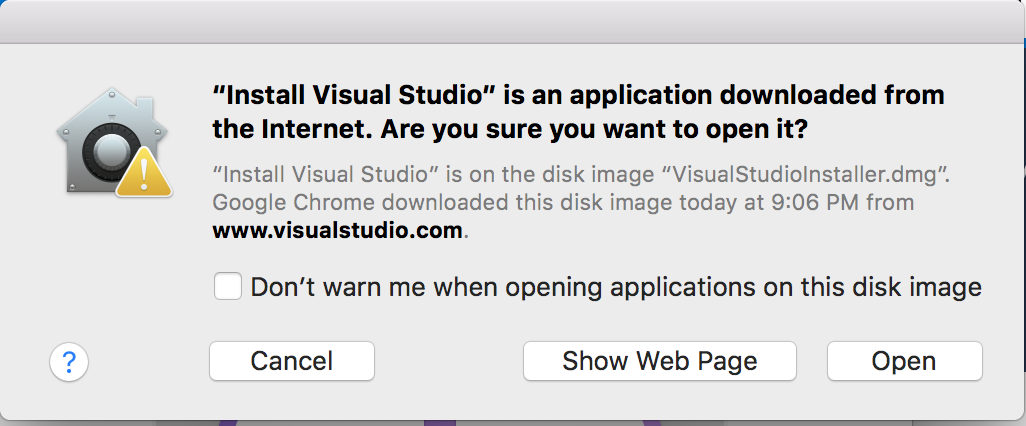
- Click Open button when there is a warning dialog popup.
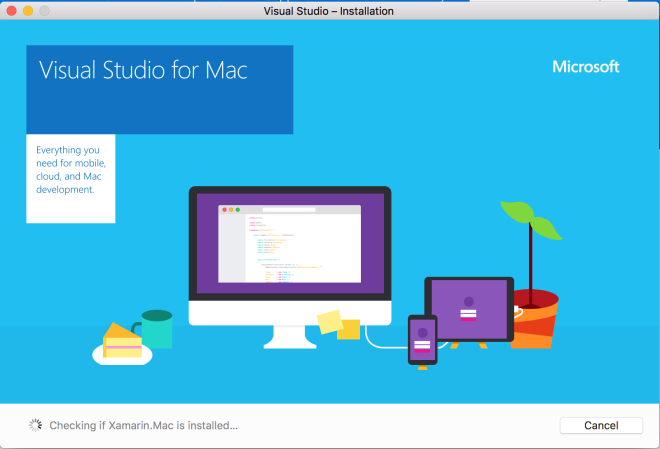
- Visual Studio installer will now started and performing some checking on the machine.
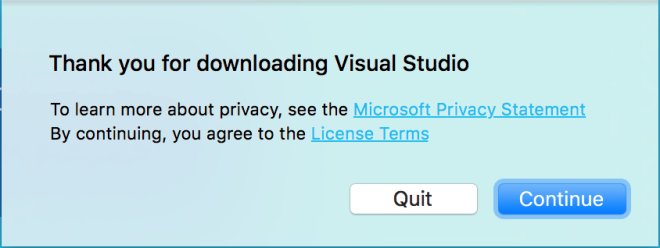
- You will need to agree on the Microsoft Privacy Statement and License Terms in order to continue installation. Just click on Continue button.
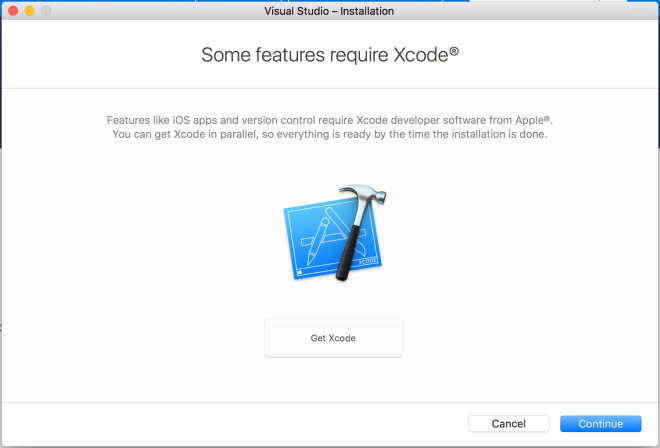
- The installer will ask to get Xcode. We already completed this part and will just click on Continue button.
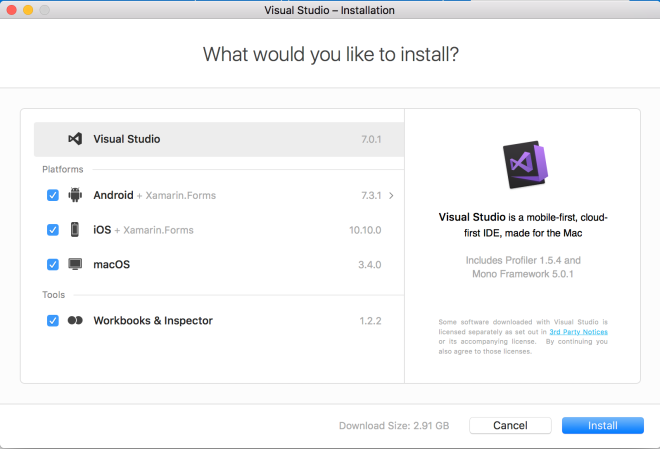
- Select all components that you would like to install. Then click on Install button.
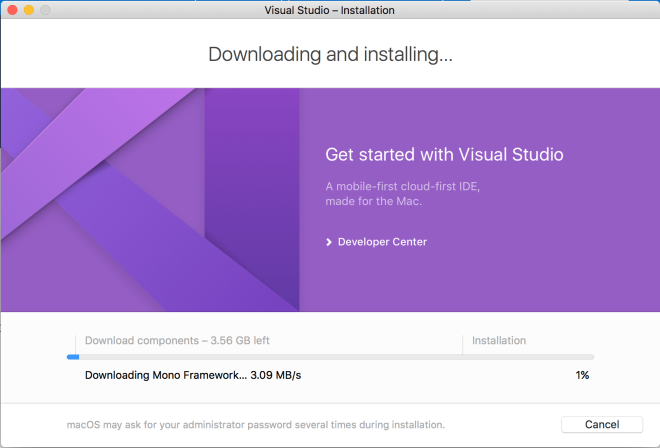
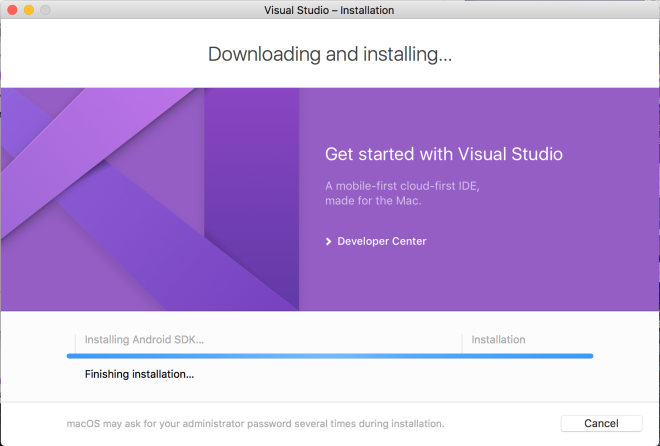
- Components will start to download (~3.5GB).
- After half an hour, the installation is mark as successful. Click on Start Visual Studio button.
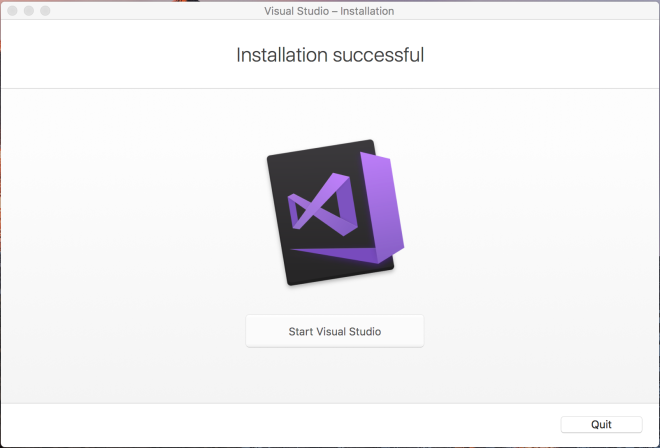
- Visual Studio for Mac is started and ready to build awesome app.

Setup Android SDK
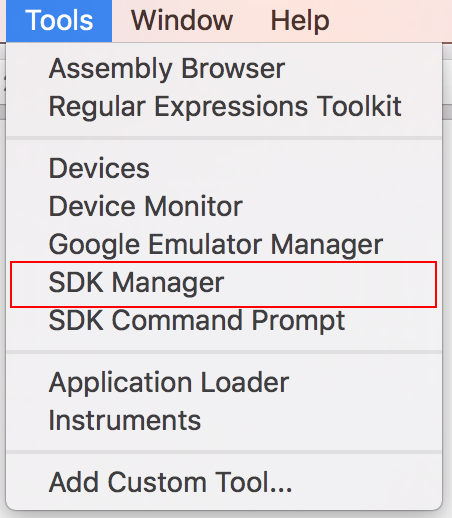
- Click on Tools>SDK Manager
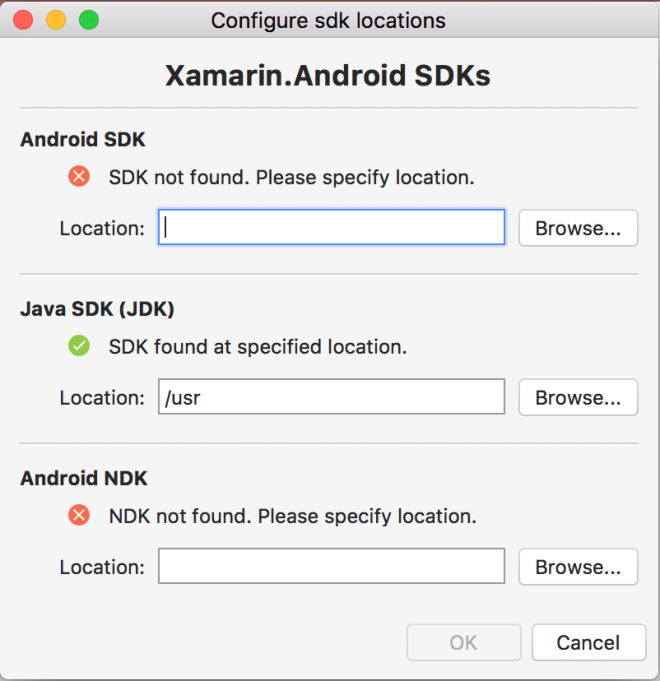
- A dialog is show but indicating Android SDK and Android NDK is not found. This might be due to we didn’t check to install Android SDK during Visual Studio for Mac installation.
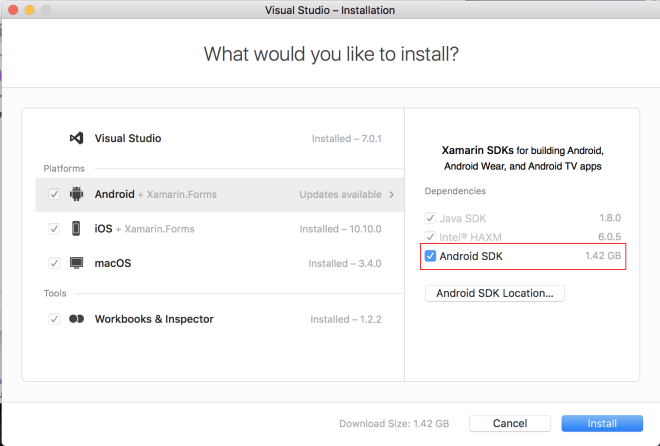
- Run the Visual Studio for Mac installer again and Continue until Select components screen. Check to install Android SDK and click Install button.
- Android SDK started to install.
- After the installation completed, click on Tools>SDK Manager. SDK Manager dialog will popup.
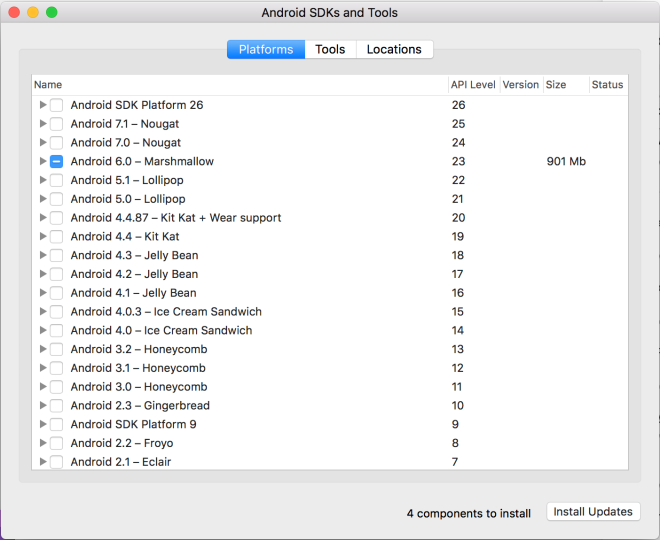
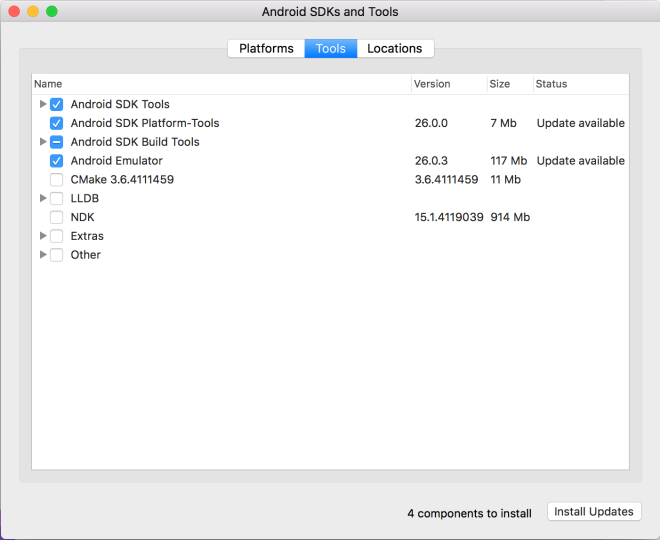

- Update Android SDK according to recommended list in HERE
Installation Test: Xamarin iOS
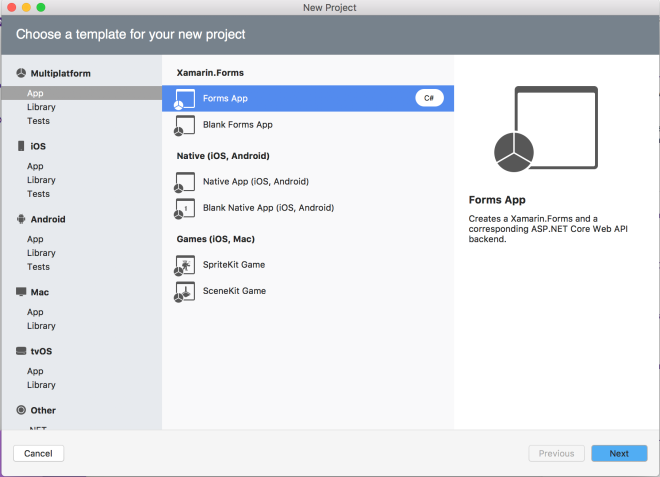
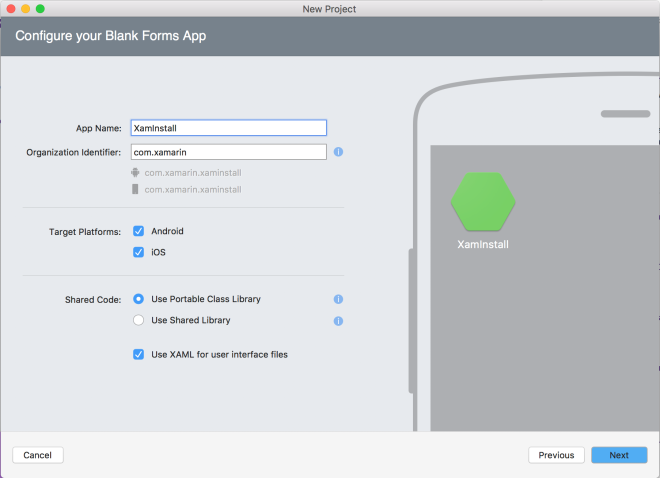
- Open Visual Studio for Mac and click on New Project. New project dialog will popup. Select Xamarin.Forms>Blank Forms App and click Next button.
- Give the app a name
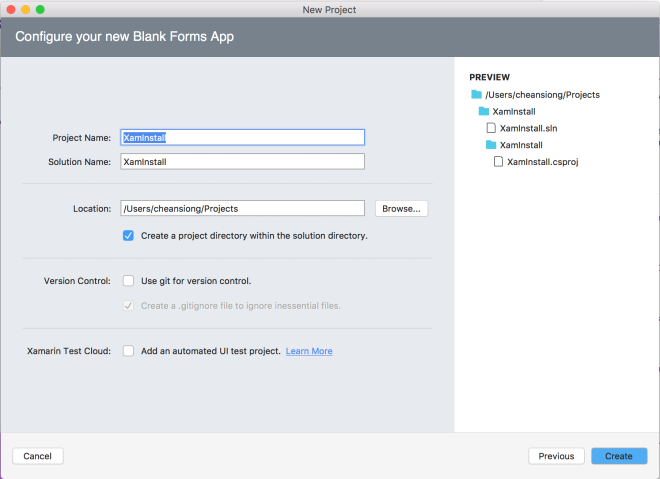
- Specify Project Name, Solution Name and Location. Finally, click on Create button
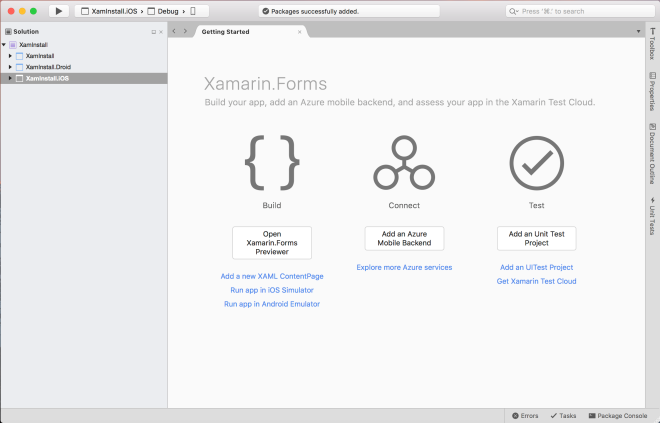
- 3 projects is automatically generated by Visual Studio for Mac. Make sure XamInstall.iOS project is selected (project name is bold), then click Play button to RUN the app.
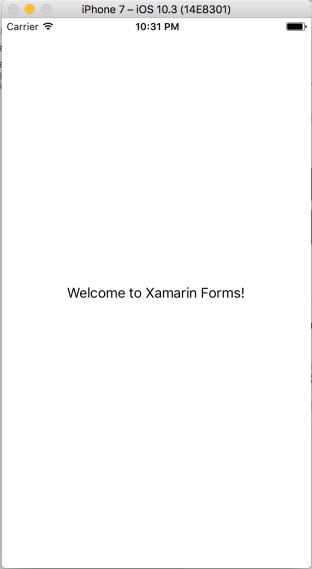
- Visual Studio will build the solution and deploy to iOS Simulator. If you can see this, it means that you have successfully setup Xamarin for iOS development.
Installation Test: Xamarin Android
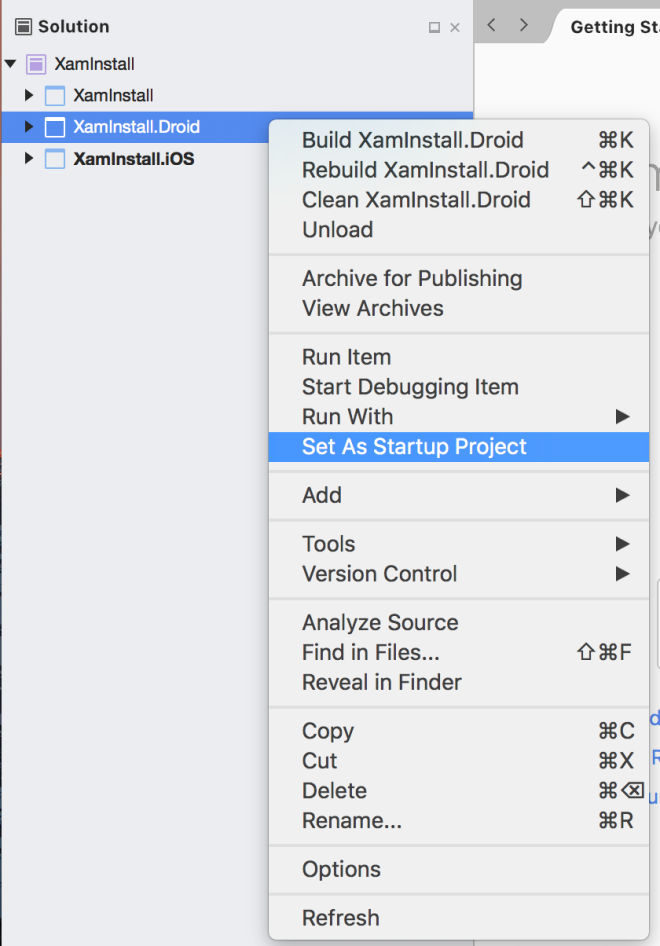
- Right click on Android project (XamInstall.Droid), click on Set As Startup Project. Android project name will be bold now.
- Click Run button. It will takes some time for first time build.

- Visual Studio will build the solution and deploy to Android Emulator. If you can see this, it means that you have successfully setup Xamarin for Android development.

Additional
After the new project is created, you will notice that NuGet packages in solution is outdated. Android Support Library is only version 23.3.0. The latest available version is already 25.3.1. Please update the packages in all project before you continue to work on the solution.
