- Download Visual Studio 2017 installer from visualstudio.com and RUN it.

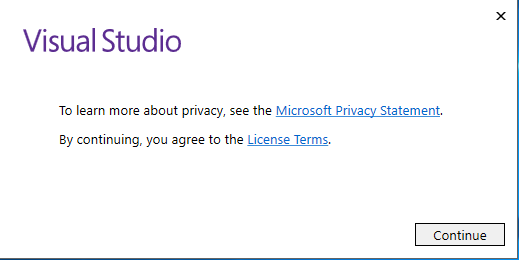
- You will need to Agree to the terms of Microsoft on the first start of Visual Studio 2017 installer.
- Then wait for the initialization of the installer.
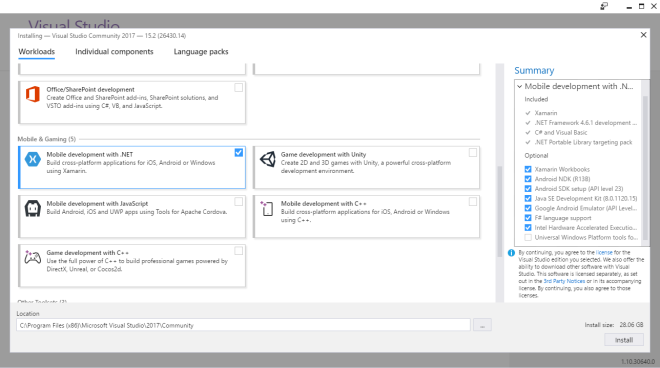
- After initialization is completed, you should see the following screen. Under Mobile & Gaming category, select Mobile development with .NET component. Then click Install button to start the installation.
- Visual Studio 2017 installer will start installation and it took about 30minutes to complete in my machine. (Very fast compare to Visual Studio 2015)
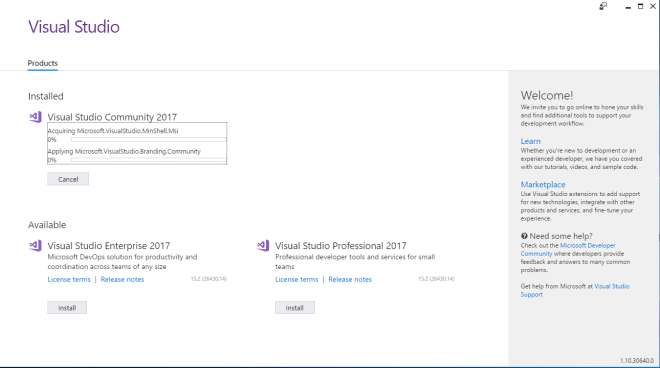
- When the installation is completed, you will see the following screen. Just click on Launch button to start Visual Studio 2017.
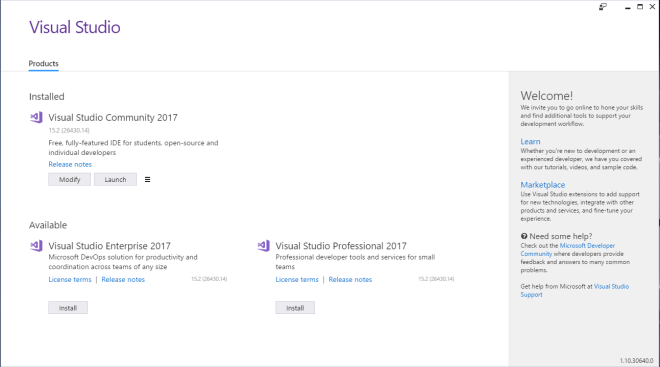
- Visual Studio 2017 is now installed with Xamarin and ready to rock.

- Surprisingly the latest Visual Studio 2017 installer did not give any installation problem this time. Everything is installed correctly and the process is so smooth. Thumbs up for Microsoft and Xamarin team.
- If you need to setup Android Emulator, please refer to this POST.
- If you need to setup connection to Mac, please refer to this POST.
- Comment
- Reblog
-
Subscribe
Subscribed
Already have a WordPress.com account? Log in now.
