There is many options available for Android Emulator. I will list down a few:
- Android SDK Emulator
- Visual Studio Android Emulator
- Xamarin Android Player (Deprecated but still usable if you only need older emulator)
- Genymotion
- Bluestacks
Note: You can always debug using actual Android device instead of using Emulator for debugging.
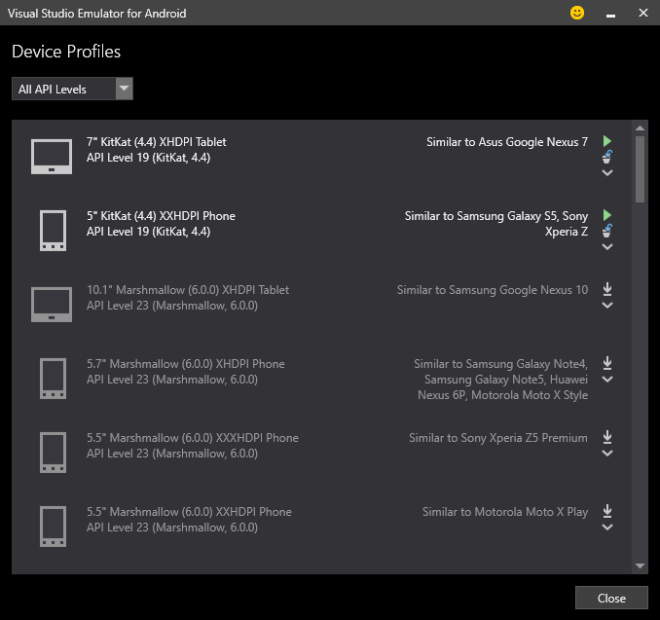
If you need to turn ON Hyper-V in your machine, you will need to go with Visual Studio Android Emulator. To open/configure Visual Studio Android Emulator, go to Tools>Visual Studio Emulator for Android…

You will be able to launch or configure the emulator in the new dialog popup. For details guide on Visual Studio Android Emulator please refer HERE.
This guide will be about how to work with Android SDK Emulator.
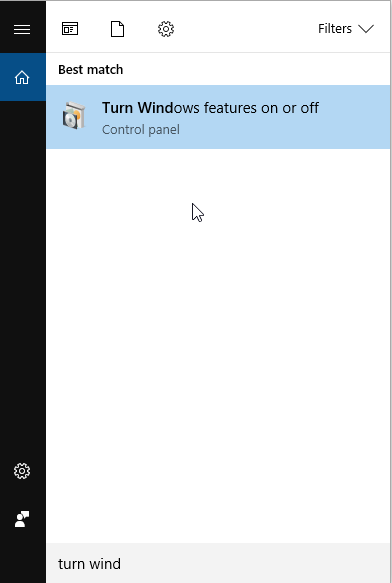
- To make Android SDK Emulator run without lagging, we will need to install Intel HAXM. However, Intel HAXM cannot work together with Hyper-V. So, we need to turn OFF Hyper-V in the machine. Open search windows and search for Turn Windows features on or off and open it.
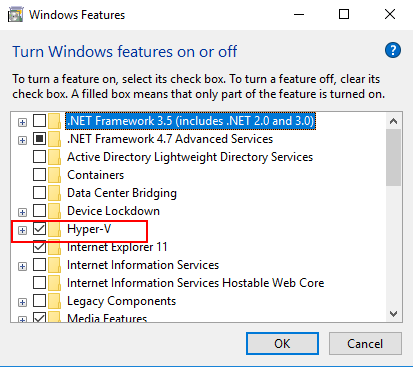
- Uncheck Hyper-V and restart PC. (If your PC do not have this Hyper-V features, it means that Hyper-V is not supported. So you can skip this step)
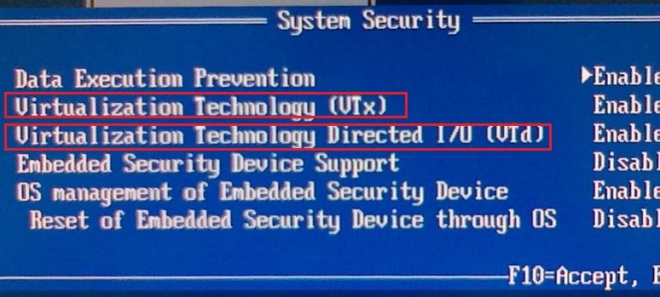
- Make sure Virtualization Technology settings is Enable in BIOS settings.
- Download Intel HAXM installer HERE.
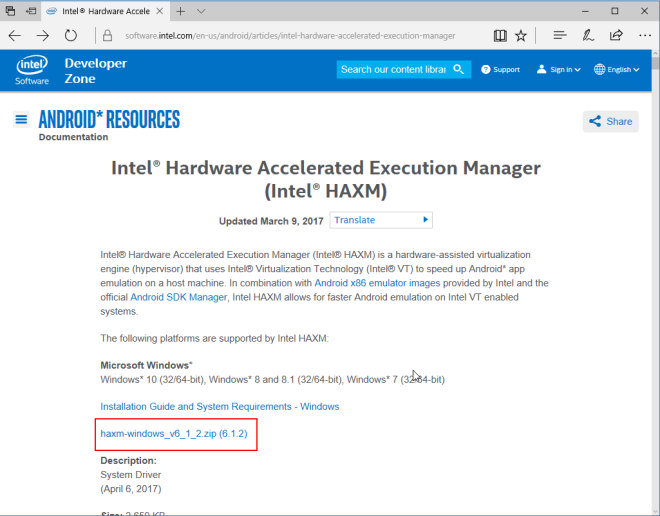
- Remember to agree on the EULA to start the download.

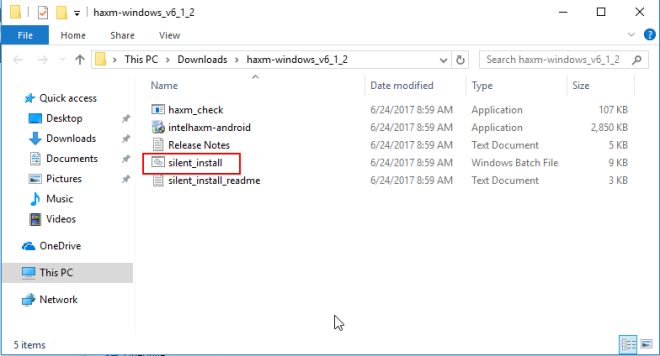
- After downloaded, extract the zip file. You should have the following files in the zip file. Open command prompt and RUN silent_install.bat. Intel HAXM installer should be running.
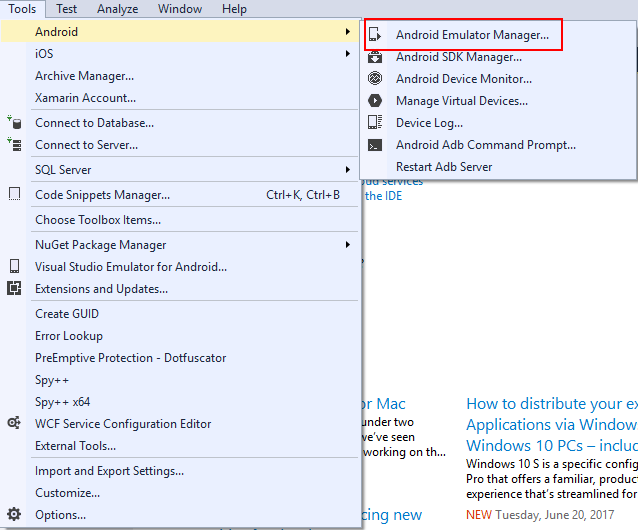
- After Intel HAXM is installed, we can now proceed to setup the emulator. Open Visual Studio and go to Tools>Android>Android Emulator Manager
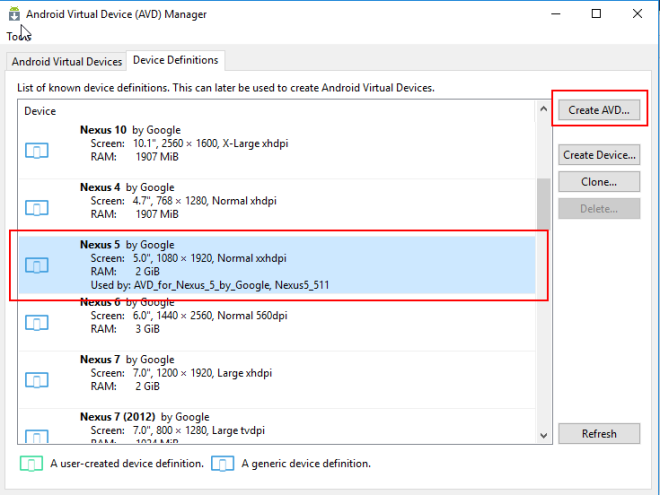
- Android Virtual Device (AVD) Manager dialog should be popup. It might take some time to show if your machine is slow. Click on Device Definitions tab.
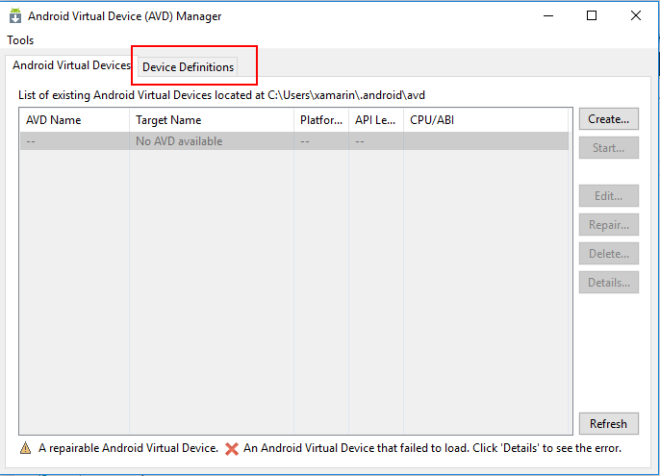
- Search for Nexus 5 device and click Create AVD button.
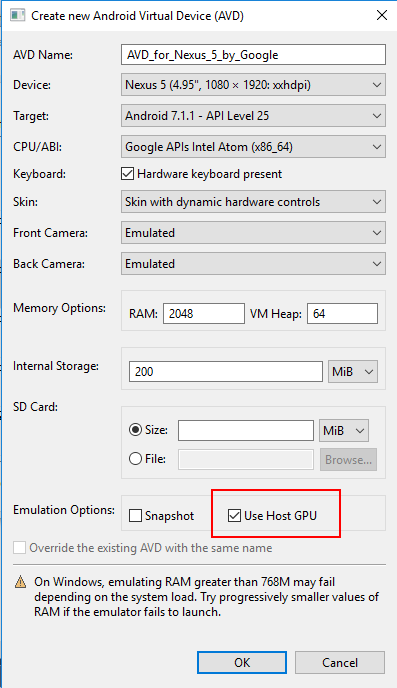
- Create AVD dialog will be show. In this dialog, you can configure the settings of the AVD. Set the settings as the following screenshots. Remember to Check setting Use Host GPU, without checking this the AVD will not able to run smoothly. After all settings is configure, click OK button.
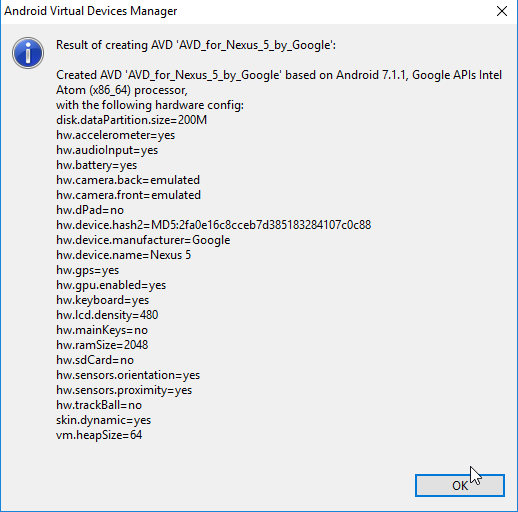
- The AVD will now creating and will show a success dialog after it is completed. Click OK button on the success dialog to close it.
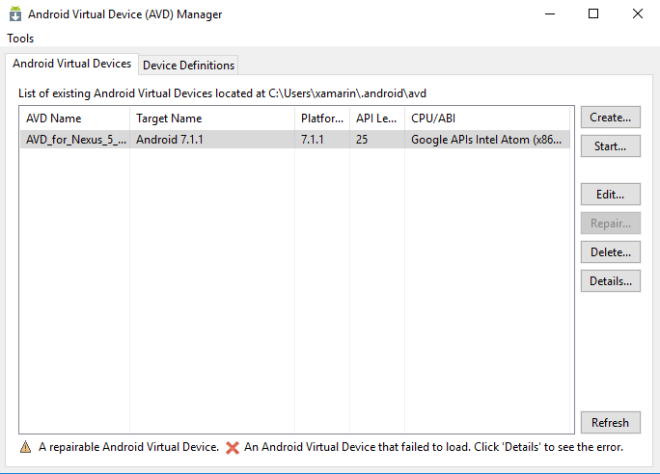
- The AVD is now successfully added. You can check it under Android Virtual Devices tab.
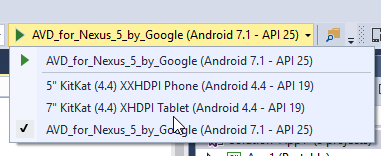
- After the AVD is configure, you will see the AVD is available in the device selection for deploy.
- If you need more information about how the AVD works and some detail explanations, please refer HERE.
You can find the other parts of the guide here:
